
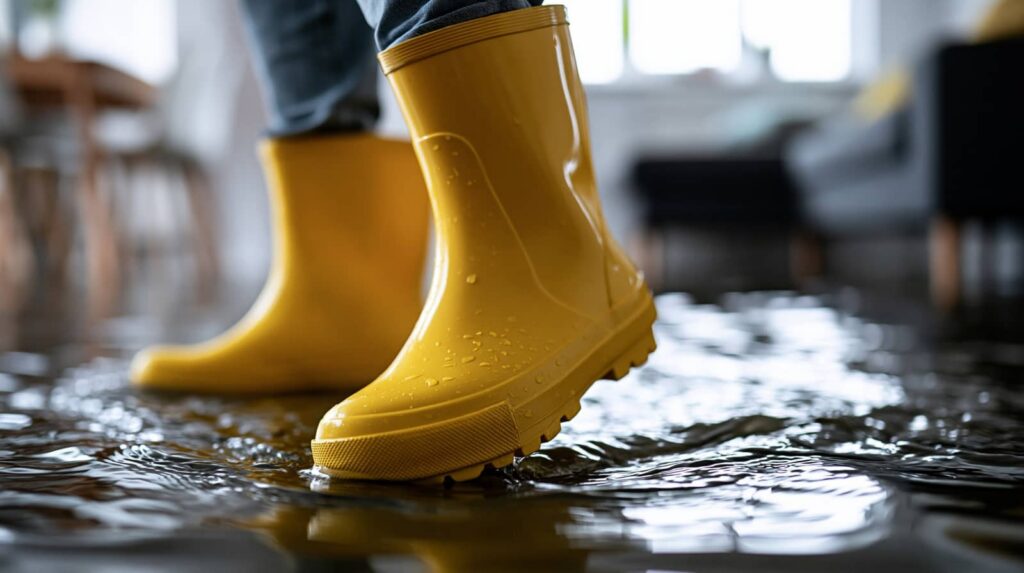
When water damage hits your property, you need to act fast and in the right order. You inspect the area, stop the source, and remove standing water before moisture spreads into walls and flooring. Then you dry hidden spaces, document the damage, and assess what can be saved or rebuilt. The real question is how each step affects the next, and that’s where the process starts to get specific.
Key Takeaways
- Inspect the damage, identify the water source, and document affected areas before starting cleanup.
- Stop the water flow, protect belongings, and remove standing water quickly with pumps or wet vacuums.
- Dry the structure using air movers and dehumidifiers while monitoring moisture levels daily.
- Clean and sanitize affected surfaces to reduce contamination and prevent mold growth.
- Repair damaged drywall, flooring, insulation, and framing after confirming the area is dry and stable.
How Water Damage Restoration Works
Water damage restoration works by moving through a clear sequence: inspection, water extraction, drying, cleaning, and repairs.
You start by documenting conditions, then you remove standing water fast to limit spread.
Next, you dry affected materials with air movers and dehumidifiers until moisture readings drop to safe levels.
After that, you clean salvageable surfaces, treat contamination, and discard unsalvageable items.
Finally, you repair damaged drywall, flooring, and trim so your space feels whole again.
Knowing how water damage restoration works helps you act with your crew, stay organized, and avoid delays.
Each step supports the next, so you get faster recovery, less structural risk, and a cleaner result.
Inspect the Damage and Find the Source
Once you’ve stopped the spread with extraction, the next step is to inspect the damage and track down the source.
You check walls, flooring, ceilings, baseboards, and hidden cavities for staining, swelling, warping, and soft spots. Use a moisture meter and thermal camera to map wet areas, then compare readings across materials.
Document what you find with photos and notes so your team can stay aligned. Trace the pattern of moisture back to the entry point, whether it’s a supply line, appliance, roof leak, or seepage from below.
You’re not guessing; you’re building a clear path from symptoms to cause. This careful assessment helps you plan the right restoration steps and keeps everyone on the same page from the start.
Stop the Water and Protect the Property
Shut off the main water supply as soon as you confirm the leak to stop further intrusion.
Then move furniture, electronics, and other valuables away from the wet area to reduce damage.
If you can’t safely isolate the source, contact a plumber or restoration professional right away.
Shut Off Water Source
Act quickly to stop the leak at its source and limit further damage to your property. If you can reach the main shutoff valve safely, turn it clockwise until it stops. For a localized issue, close the fixture valve under the sink, behind the toilet, or near the appliance.
Keep calm and work methodically so you stay in control with the rest of us handling the situation.
- Confirm the water flow has stopped.
- Open a nearby faucet to relieve pressure.
- Watch for dripping, spraying, or hidden seepage.
If the source is a burst pipe, failed supply line, or frozen line, shut off electricity to affected areas only if water is near outlets or equipment.
Once the flow stops, you’re ready for the next restoration step with confidence.
Secure Belongings Fast
Move quickly to protect anything the water can still reach. You should move dry boxes, electronics, documents, and soft goods to a higher room or a sealed shelf.
Lift furniture legs with wood blocks or foil to keep wicking down. Pull rugs, cushions, and curtains away from wet floors and walls.
Bag loose items, label them, and set them in a clean, dry zone so your team can sort them later. If an item is too heavy, don’t strain; clear a path and mark it for removal.
Close interior doors to slow spread, but keep airflow where drying equipment will go. Photograph each room before you shift contents. That record helps your restoration crew track loss, protect belongings, and bring your space back with confidence.
Extract Water and Remove Debris
After inspection, technicians extract standing water with pumps, wet vacuums, and specialty equipment to limit further absorption into floors, walls, and contents. You’ll see them work fast, because every minute counts and your team wants to protect what’s left.
They remove soaked debris, damaged drywall scraps, carpet padding, and loose items that can trap contaminants or slow cleanup.
- Clear access paths so equipment can reach all affected areas.
- Bag and remove debris to keep the site organized and safe.
- Separate salvageable contents from materials that need disposal.
You should expect a methodical sweep that follows your restoration plan and reduces contamination spread. By staying coordinated, you and the crew keep the space manageable, ready for the next recovery step.
Dry Walls, Floors, and Hidden Spaces
Once standing water and debris are cleared, technicians start drying the structure and hidden cavities to stop moisture from lingering.
You’ll see air movers placed along baseboards, dehumidifiers pulling vapor from the air, and sometimes injectidrying systems aimed into wall spaces. They monitor moisture in drywall, subfloors, framing, and insulation, so you know the drying plan is working.
If wet materials can’t dry fast enough, they remove damaged sections to protect the structure and reduce hidden growth risk.
You stay in the loop with readings and progress updates, and the crew adjusts equipment as conditions change.
This process helps your home dry evenly, limits warping, and prepares each surface for the next restoration step.
Clean, Sanitize, and Remove Odors
With the structure dry, technicians clean affected surfaces, sanitize areas exposed to contaminated water, and treat materials to reduce microbial growth and lingering odors. You’ll see them work room by room, using detergents, EPA-registered disinfectants, and targeted odor control so your space feels safe again.
Remove residue from walls, floors, trim, and fixtures.
Apply sanitizers to high-touch and porous materials as needed.
Use deodorizing agents and air treatment to neutralize musty smells.
They also flush HVAC-related contamination, clean salvageable contents, and inspect hidden cavities for trapped odor sources.
You can expect a focused process that restores hygiene without overworking undamaged materials. When done well, your property won’t just look clean—it’ll feel ready to live in again, with fresh air and fewer worries.
Document Damage for Insurance Claims
Before any repairs move forward, you should document the damage thoroughly for your insurance claim. Take wide-angle photos of each affected room, then capture close-ups of soaked materials, staining, warped surfaces, and visible mold or debris.
Record the date, time, source of water, and any emergency actions you took. Keep receipts for extraction, drying, cleaning, and temporary supplies, since they show your mitigation efforts.
Make a simple inventory of damaged items with estimated age and value. Save copies of your policy, claim number, and all emails or calls with your adjuster.
Organize everything in one folder so you can respond fast and stay aligned with your restoration team. Clear records help you feel prepared, supported, and ready for the next step.
Repair Drywall, Flooring, and Fixtures
Start repairs by replacing any drywall, insulation, flooring, baseboards, and trim that stayed wet long enough to weaken, swell, or grow mold.
You’ll want to cut back damaged material to clean, solid edges so new pieces fit tightly and finish smoothly. Match drywall thickness, flooring type, and fastener spacing to the original build for a stable repair.
Then reset fixtures like cabinets, doors, and hardware only after the surface is dry and level.
- Remove soft or warped material.
- Install replacement pieces with proper fastening.
- Seal, tape, sand, and finish for a clean result.
You’re not just restoring rooms; you’re getting your home back to a place that feels familiar, safe, and ready for daily use.
Check for Mold and Structural Damage
You should inspect affected areas for mold by checking for musty odors, visible growth, staining, and damp materials that stayed wet too long.
Next, assess structural damage by looking for warped framing, cracked supports, sagging floors, and compromised load-bearing components.
If you find either condition, you’ll need targeted remediation and repairs before you finish restoration.
Mold Inspection Signs
How can you tell if water damage has led to mold or hidden structural issues? You can spot early warning signs before they spread.
Look for musty odors, discoloration, or fuzzy growth on drywall, baseboards, and insulation. Check vents, closets, and under sinks where moisture lingers.
If you notice peeling paint, warped trim, or damp materials that stay wet, act fast. A professional inspection helps your team identify problem areas and keep your space safe.
- Smell for persistent musty odors.
- Inspect surfaces for staining or visible growth.
- Monitor damp areas for recurring moisture.
Use a flashlight and gloves, and document what you see. When you catch mold early, you protect your home, your health, and the people who belong in it.
Structural Damage Assessment
Once you’ve ruled out obvious mold growth, inspect the structure for hidden damage that moisture can cause.
Check drywall, framing, subflooring, insulation, and ceiling joists for swelling, soft spots, warping, or staining. You should also probe baseboards and trim for crumbling material and watch for sagging floors or separated seams.
If you smell musty odor, assume moisture may still be trapped inside cavities. Use a moisture meter to compare affected areas with dry sections, and document readings for your restoration team.
Look closely at load-bearing members, because compromised wood can weaken the whole assembly. If you see significant bowing, cracking, or movement, stop using the area until a qualified professional confirms it’s safe.
Careful assessment helps your crew stay ahead of repairs and protect your space.
How Long Water Damage Restoration Takes
Water damage restoration can take anywhere from a few days to several weeks, depending on the severity of the damage, the type of water involved, and how quickly drying begins.
You’ll move faster when you act early, because moisture spreads into walls, floors, and hidden cavities. Your timeline usually depends on:
- Water category, since clean water dries faster than contaminated water.
- Material impact, because drywall, insulation, and wood need different drying times.
- Repair scope, since structural fixes add days after cleanup.
You can expect extraction first, then drying, sanitation, and repairs.
Technicians monitor moisture daily and adjust equipment until readings stabilize. If you stay proactive and keep communication open, you’ll feel more in control and better supported through each phase.
Frequently Asked Questions
Do I Need to Leave My Home During Restoration?
Not always—you can often stay if crews only dry and clean. You’ll need to leave if there’s sewage, mold, structural risk, or major demolition. Your technician will tell you what’s safest.
What Should I Do With Personal Belongings After Water Damage?
You should move personal belongings to a dry, safe area, sort salvageable items, and document damage. Cleanable items can often be restored; porous belongings may need disposal. Contact your insurer and keep valuables separated.
Can Water Damage Affect My Electrical System?
Yes—water can damage your electrical system, shorting outlets, corroding wires, and tripping breakers. You should shut off power, avoid wet areas, and call a licensed electrician. You’re protecting your home and your safety.
Is Restoration Different for Clean Water and Sewage Backups?
Yes, you’ll handle clean water and sewage backups differently. You can dry clean water after extraction, but sewage needs contamination control, disinfecting, and often removal of porous materials to protect your space and everyone in it.
How Do I Choose a Qualified Water Damage Restoration Company?
Choose a company with IICRC-certified technicians, 24/7 response, moisture mapping, and clear documentation. Even if pricing looks lower elsewhere, you’ll want proven equipment and insurance coordination so your team feels protected.
Review
You’ve seen how water damage restoration works: you inspect the damage, stop the source, extract the water, and dry the structure. You document losses, repair materials, and check for mold or hidden damage. The process is systematic because your property needs speed, accuracy, and follow-through. When you act quickly, monitor moisture, and coordinate each step, you reduce costs, limit hazards, and restore your space faster.