
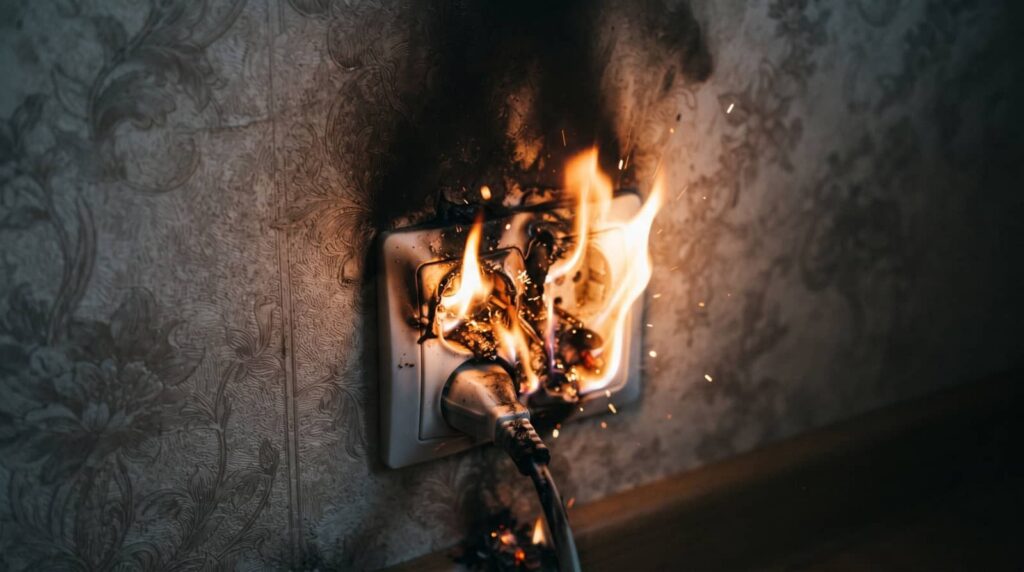
After a fire, you need a methodical restoration plan that starts with securing the property, then evaluating structural, smoke, soot, and water damage. Technicians remove debris, dry affected areas, and address odors before any repairs begin. They also sort salvageable belongings from items that can’t be saved, while documenting losses for insurance. What happens next often determines how safely and completely your property can return to use.
Key Takeaways
- Fire damage restoration begins with assessing fire, smoke, soot, and hidden moisture damage throughout the property.
- Technicians secure the structure by boarding openings and documenting damage for safety and insurance claims.
- Debris, charred materials, and unsalvageable contents are removed to create a clean work area.
- Specialized cleaning, drying, and air scrubbing eliminate soot, smoke odors, and moisture contamination.
- Repairs and content restoration replace damaged materials and salvage usable belongings to return the property to normal use.
What Fire Damage Restoration Includes
Fire damage restoration includes a thorough process of cleaning, repairing, and restoring your property after fire, smoke, soot, and odor damage.
You’ll see technicians assess structural materials, inventory affected contents, and identify hidden contamination in walls, ceilings, and HVAC pathways. They’ll use specialized equipment to remove soot, neutralize odors, and clean salvageable surfaces without spreading residue.
Fire damage restoration also includes drying moisture from firefighting efforts, documenting losses, and separating items that need repair from those that can’t be recovered.
You’re not maneuvering through this alone; trained crews guide each step with clear communication and careful workmanship. Their goal is to stabilize your space, protect indoor air quality, and return your home or business to a safe, usable condition as efficiently as possible.
Secure the Property After a Fire
After a fire, you should board up broken windows, damaged doors, and other openings to keep the structure secure.
This step helps block weather, debris, vandalism, and unauthorized entry while the restoration work gets underway.
Board Up Openings
Open any exposed doors, windows, or broken wall sections are quickly boarded up to protect your property from weather, trespassers, and further damage.
You’ll typically see technicians measure each opening, cut plywood to fit, and fasten it with heavy-duty anchors or screws so the barrier stays secure. This step helps keep rain, wind, and debris from entering while you wait for full restoration.
It also gives you peace of mind, because your space feels safer and more controlled. In many cases, crews label access points and document the work for your insurance file.
When you’re dealing with fire loss, these temporary protections help you stay connected to the restoration process and move forward with confidence as your property is stabilized.
Prevent Further Damage
Once the immediate hazards are under control, technicians focus on preventing more loss by securing the property and stabilizing vulnerable areas.
You’ll see crews tarp roof breaches, reinforce weakened framing, and seal exposed openings so weather, pests, and trespassers can’t worsen the damage. They also remove standing water, cover salvageable contents, and set dehumidifiers to limit secondary deterioration.
This step protects your structure while the larger restoration plan moves forward, helping you feel grounded in a chaotic moment.
- Install temporary barriers
- Shore up unstable sections
- Control moisture and airflow
- Protect contents and access points
Assess Fire, Smoke, and Soot Damage
A thorough assessment of fire, smoke, and soot damage is the first step in restoring your property safely and effectively.
You’ll see technicians inspect structural materials, finishes, contents, and hidden spaces to identify what the flames, heat, and residues affected. They’ll classify damage by severity, noting charred surfaces, discoloration, corrosion, and odor retention.
Smoke can travel far beyond the burn area, so they’ll check walls, ceilings, HVAC pathways, and enclosed cavities for microscopic soot. This evaluation helps them decide what you can clean, what you need to repair, and what you must replace.
You’re not facing this alone; a clear assessment gives your team a shared plan, reduces uncertainty, and sets the foundation for a careful, efficient recovery.
Dry Out Water Left by Firefighting
You’ll need to remove any standing water right away so it doesn’t keep soaking materials and spreading damage.
Then you should use high-powered air movers to accelerate surface evaporation and help airflow reach affected areas.
To finish the drying process, dehumidify hidden moisture in walls, subfloors, and cavities so trapped water doesn’t lead to mold or structural deterioration.
Remove Standing Water
Standing water from firefighting must be removed quickly to limit secondary damage and speed recovery.
You’ll want your restoration team to extract pooled water from floors, cavities, and low spots before it soaks deeper into materials. This step helps you protect your home and join the recovery process with confidence.
Technicians may focus on:
- Visible water on hard surfaces
- Water trapped under carpeting
- Moisture collected in wall bases
- Puddles near appliances and fixtures
Use High-Powered Air Movers
After extraction, restoration crews place high-powered air movers to drive moisture out of floors, subfloors, drywall, and other porous materials left damp by firefighting.
You’ll see them set for strong, focused airflow across wet surfaces, speeding evaporation and reducing the time moisture has to soak deeper. This helps protect structural materials from swelling, warping, and microbial growth.
Crews position each unit to create a consistent drying pattern, then adjust placements as surfaces begin to dry. You’re not just waiting for things to dry on their own; you’re working with a controlled process that restores stability faster.
With proper airflow and close monitoring, your property moves toward safe, efficient recovery, and you can feel confident that every room gets the attention it needs.
Dehumidify Hidden Moisture
While air movers push surface moisture out, dehumidifiers pull the remaining water vapor from the air and from hidden materials like wall cavities, insulation, framing, and subfloors. You need this step to stop secondary damage and help your structure dry evenly.
Our team monitors temperature, humidity, and moisture readings so you’re not left guessing.
- Protects drywall and trim
- Reduces swelling and warping
- Limits mold-friendly conditions
- Speeds structural drying
We’ll place the right dehumidifier type for your space, then adjust it as conditions change. That control matters after firefighting water so you can move forward with confidence.
As moisture levels drop, your property becomes safer, more stable, and better prepared for cleaning and repairs, with your restoration crew working alongside you.
Remove Debris and Unsalvageable Materials
Once the area is safe to enter, the restoration team removes debris and unsalvageable materials to clear the structure for cleanup and repairs.
You’ll see damaged drywall, warped flooring, charred insulation, and broken contents sorted by what can be saved and what can’t.
Technicians wear protective gear, use controlled demolition tools, and load waste into sealed containers to limit tracking and secondary damage.
They also separate hazardous items for proper disposal, following local regulations and safety protocols.
This step creates a clean work zone, improves access to framing and utilities, and lets the rest of the recovery move forward efficiently.
You’re not handling this alone; the crew works systematically so your property can be stabilized and prepared for the next phase.
Clean Smoke and Soot From Surfaces
With debris removed, the next priority is to clean smoke and soot from every affected surface before stains and corrosion set in. You’ll need the right method for each material, because soot can smear or etch if you scrub too aggressively.
Restoration teams inspect walls, ceilings, trim, and contents, then choose dry sponges, HEPA vacuums, or mild detergents based on residue type. This careful work helps protect your home and keeps your space feeling like yours again.
- Work from top to bottom
- Test cleaners in hidden spots
- Change cloths often
- Dry surfaces fully after cleaning
You’re not handling this alone; a trained crew can restore surfaces efficiently and help your property move closer to normal.
Remove Smoke Odors From the Property
You’ll need to identify every smoke odor source, including hidden residues in walls, insulation, ducts, and soft materials, because lingering particles continue to release odor until you remove them.
Then you can apply deep cleaning methods that target porous surfaces and contaminated contents, reducing embedded smoke compounds instead of masking them.
To finish, you should use air scrubbing equipment with HEPA and activated carbon filtration to capture airborne particulates and neutralize residual odors as the space dries and clears.
Odor Source Detection
Before crews can remove smoke odors from a property, they need to pinpoint every source of contamination, including soot residue, charred materials, smoke-affected insulation, and hidden voids where odors can linger.
You’ll see technicians trace the smell path room by room, using inspection tools and moisture checks to map where smoke entered and settled. That careful review helps your restoration team target the right areas and keeps you connected to the process.
- Wall cavities
- Attics and crawlspaces
- HVAC components
- Cabinets and trim gaps
When they identify each source, they can build a clear action plan and protect unaffected spaces.
You’re not dealing with this alone; your crew works methodically so your property feels safe, familiar, and ready for the next restoration step.
Deep Cleaning Methods
Once technicians have mapped every smoke source, they can move into deep cleaning methods that strip odors from the property instead of masking them.
You’ll see crews wash hard surfaces with alkaline or specialty detergents that lift soot films from walls, trim, cabinets, and floors. They’ll also clean HVAC registers, vents, and hidden ledges where odor particles settle.
Porous items need more attention, so technicians may launder fabrics, shampoo carpets, and treat upholstery with targeted deodorizing agents. In some cases, they’ll apply dry-cleaning techniques for delicate materials.
Each step matters because smoke residue keeps releasing odor until it’s fully removed. When you follow this process with a trained team, your space starts to feel familiar again, cleaner, safer, and ready for the next phase of restoration.
Air Scrubbing Equipment
Air scrubbers pull lingering smoke particles out of the air so odors stop circulating through the property.
You’ll place these machines in affected rooms after debris removal and deep cleaning, and they’ll keep working while the space dries and ventilates.
Their HEPA filters trap fine soot, while carbon stages help neutralize odor molecules that cling to walls, fabrics, and ductwork.
This matters because you’re not just masking smell; you’re reducing airborne contamination for everyone in the home or business.
- Improves indoor air quality
- Supports faster odor removal
- Protects cleaned surfaces from recontamination
- Helps your team feel comfortable returning sooner
You deserve a property that feels safe, fresh, and ready for the next step.
Repair Walls, Floors, and Fixtures
Damaged walls, floors, and fixtures are repaired or replaced to restore both the structure and usability of your property after a fire.
Your restoration team first checks framing, subflooring, drywall, trim, and mounted fixtures for heat warping, smoke staining, and hidden moisture. They remove compromised materials, then install code-compliant replacements that match your existing layout and finish as closely as possible.
You’ll see patched seams, leveled flooring, sealed surfaces, and reinstalled lighting, cabinetry, or plumbing fixtures once the area is safe. Each repair supports stability, cleanliness, and long-term performance, so your space feels solid again.
Throughout the process, you stay informed and involved, and your property gradually returns to a familiar, comfortable place where you and your household can settle back in with confidence.
Handle Salvageable Belongings
With the structure stabilized and repairs underway, your restoration team can turn to the belongings that can still be saved. They’ll sort items by material, damage level, and cleaning method, then move them to controlled areas for treatment.
You’ll see careful handling because heat, soot, and moisture can weaken surfaces fast. Typical salvageable items include:
- Hard furniture with intact frames
- Launderable textiles and bedding
- Sealed décor and household items
- Electronics with limited exposure
Your team may use dry cleaning, HEPA vacuuming, odor treatment, or specialized washing to restore them.
Fragile items get packed, labeled, and stored securely so nothing’s lost in the process. This step helps you keep familiar pieces of home close, and it supports a calmer return to normal.
Document Damage for Insurance Claims
Before cleanup removes key evidence, your restoration team should document the damage thoroughly for the insurance claim. You’ll want wide-angle and close-up photos of every affected room, plus video that shows soot staining, heat distortion, water intrusion, and smoke residue.
Record dates, times, and room locations so the adjuster can trace each loss. Your team should itemize damaged contents, note model numbers, and keep receipts or estimates for repairs and replacements. Protecting this record helps you prove the full scope of loss and supports a smoother claim review.
As you work with the restoration crew, you’re not handling this alone; you’ve got a process built to keep evidence organized, accurate, and ready for your insurer.
Frequently Asked Questions
How Long Does Fire Damage Restoration Usually Take?
You’ll usually wait days to several weeks, depending on damage, cleanup needs, and repairs. You’ll move faster with immediate mitigation, but structural rebuilding, smoke removal, and odor treatment can extend your timeline considerably.
Can I Stay in My Home During Restoration?
Usually, you can’t stay, though you might for minor damage. You’ll face smoke, soot, and drying equipment first. Your restoration team will inspect hazards, then guide you safely home when conditions allow.
Does Homeowners Insurance Cover Fire Restoration Costs?
Usually, your homeowners insurance covers fire restoration costs, including smoke, soot, and structural repairs, if the policy includes fire damage. You’ll still want to review deductibles, exclusions, and limits with your insurer promptly.
How Are Personal Documents and Valuables Recovered?
You’ll recover personal documents and valuables by documenting them, then carefully sorting debris, vacuuming soot, and packing intact items for specialized cleaning or vault storage; you’ll often get inventory lists, photos, and claims support too.
What Certifications Should a Fire Restoration Company Have?
You should choose a company with IICRC, EPA, and OSHA training; think of them as your shield and compass in a storm. You’ll get safer, cleaner recovery when certified teams follow documented, insured, industry-standard procedures.
Final Thoughts
When you act quickly after a fire, you improve your chance of saving more of your property. In fact, smoke and soot can continue damaging surfaces within hours, which is why restoration starts right away. You’ll secure the structure, dry hidden moisture, remove contaminated debris, neutralize odors, and repair damaged materials. With careful documentation and a technical recovery plan, you can restore safety, stability, and comfort to your space.